A dual-sided analog clock consists of two single analog clocks and a dual clock kit. Using the kit, you combine two clocks to create a dual-sided clock, which can be either ceiling or wall-mounted.
Step 1: Mount plate to wall or ceiling and assemble bracket
-
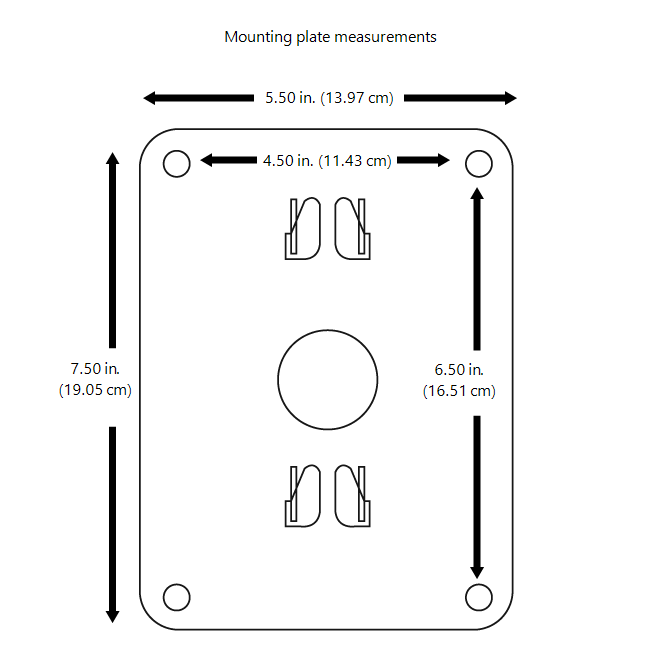
Measure and drill holes on the wall or ceiling to meet the spacing dimensions of the supplied mounting plate, as shown in the figure below.
-
Attach the mounting plate to the wall/ceiling using the provided anchors and screws. The mounting plate holes are to line up with the holes drilled in the wall/ceiling.
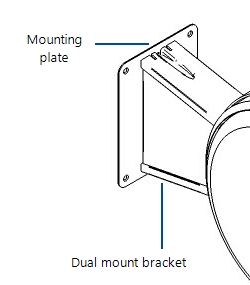
Slide the dual clock bracket over the four tabs on the mounting plate. A tap with a rubber mallet on the clock bracket may be required to set the clock bracket assembly fully into place.
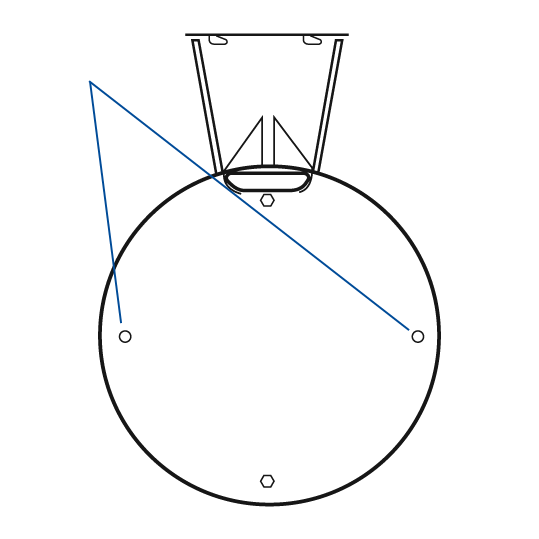
Examine the mounting plate to ensure the bracket is fully engaged. The small hole in top side of the mounting plate should be visible and fully exposed. To increase the security of the clock assembly, a common screw may be inserted into the hole and screwed into the wall.
Step 2: Assemble clocks to bracket
Complete the steps below to assemble the clocks to the bracket.
Apply power to the clock.
Press and release the button located on the back of each clock to initiate its connection to a Sync mesh network to receive its time .
-
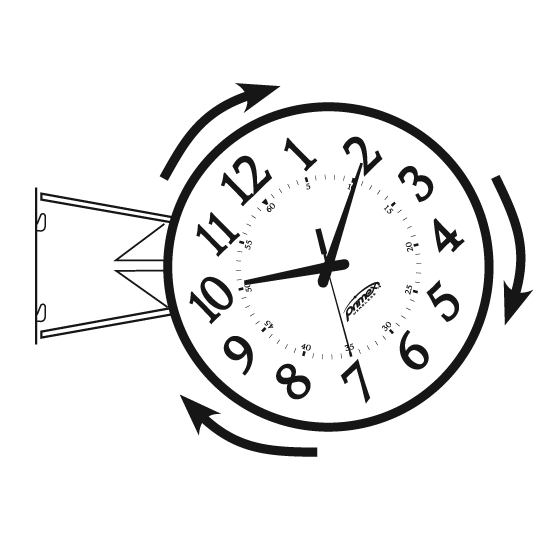
Place the clock into the bracket housing with the 10/11 and 4/5 numerals over the metal posts.
-
Place your hands at the 10/11 and 4/5 positions and turn the clock clockwise to lock into place.