When a Bluetooth Bridge order is placed with Primex, each bridge must be configured to add it to your OneVue account.
If Device Preconfiguration was not selected when an order was placed, when a Bridge arrives at your facility it's required to configured onsite with the OneVue Wired Device Configurator (OWDC) app. During OWDC configuration, the Bridge is added to your OneVue account.
The following details what's required to configure a Bridge with the OWDC app.
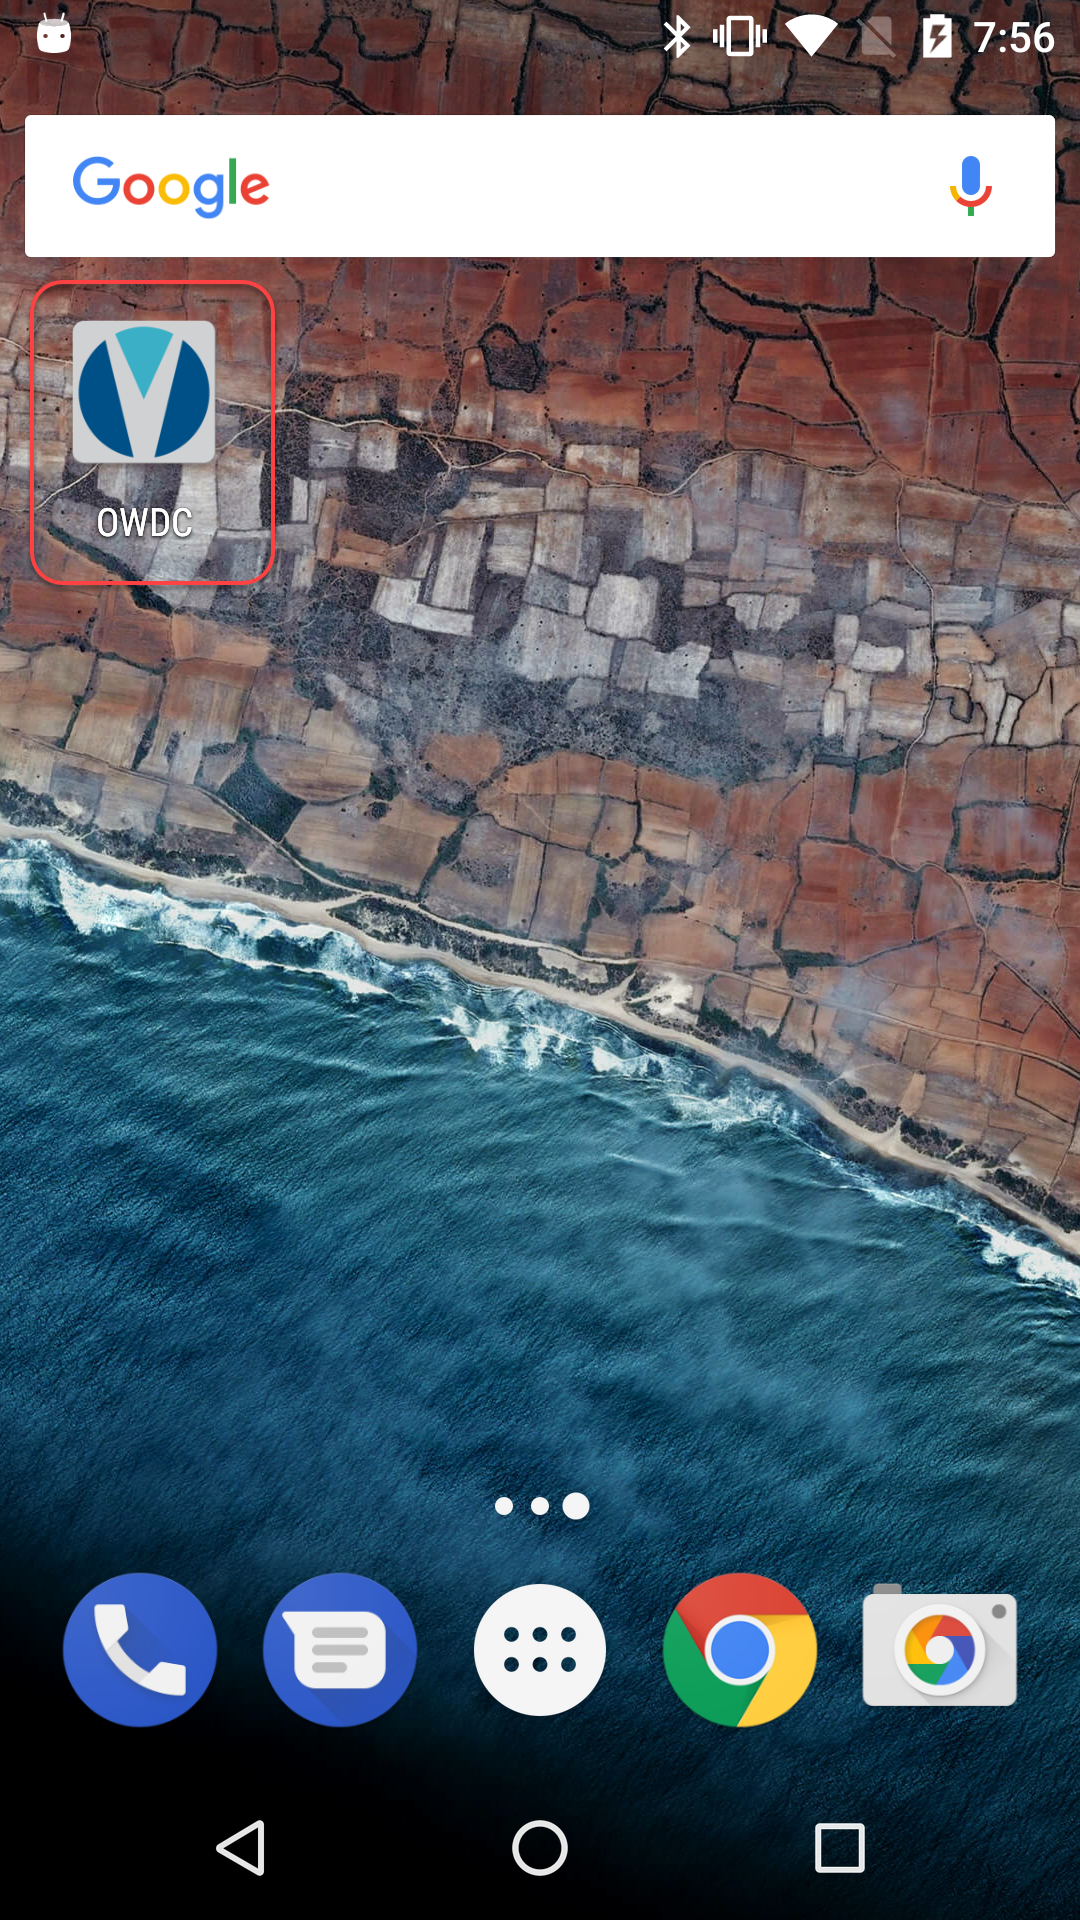
OWDC app installed on your Android mobile device: download the OWDC app from the Google Play Store. Search for the OneVue Wired Device Configurator.
Android mobile device requirements: Android OS version 4.4 or later. Minimum 25% battery life remaining. Device must support USB Host or USB OTG mode. To verify USB support, check with the Android device manufacturer.
App login: your OneVue user profile must be assigned to the Account Admin role. You will log in to the app with your OneVue user name (email address) and password.
-
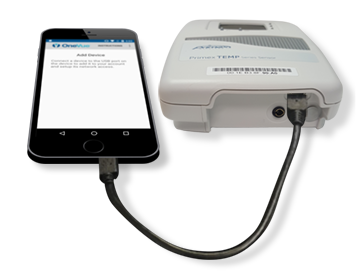
Connection cable (not supplied): the cable connects the Primex device to your Android device and also provides the power source to the Primex device during configuration.
A Bridge has a USB Mini B (5 pin) connector interface and requires either a Mini-USB to Micro USB OTG adapter cable or Mini-USB to USB C adapter cable.
Note
Cables can be purchased from Primex. Contact Primex Technical Support to verify the cable required for your application use. Part No. NTUSBADAPTER Mini-Din, USB-C, USB T-adapter. Part No. Q13797 USB to Mini cable.
-
OneVue Network Profile: during configuration, the Bridge is assigned to an existing Network Profile.
From the OWDC app, you cannot create a new Network Profile. Before you begin, from OneVue verify a Network Profile exists or create a new Network Profile. From OneVue, go to Devices > Networks. To create a new network, from the bottom section select +New.
For a Non-DHCP network, during configuration you are required to provide the device's static IP address.
New Clock Time Zone: the time zone that Sync Bluetooth Clocks are set to the first time they connect to the Sync Bluetooth mesh network. When set to Default, clocks are set to the time zone set in your OneVue account profile.
Device Name: its unique name, which commonly identifies its install location.
Business Unit: the OneVue Business Unit assigned to the Bridge. From the app, you cannot create a new Business Unit.
-
From your Android device, open the OWDC app.
-
Select OneVue Monitor.

-
Enter your OneVue username > select Next > enter your password > select Log In.
Remove AC power from the Bridge. During the next step, it receives power from its connection to your Android device. If battery power is enabled, leave this on.
-
Set Bridge into configuration mode > connect Bridge to your Android device using a USB OTG or a USB C cable (dependent on your device).
App displays "Add Device" and "Con" displayed on the Bridge LCD screen, indicating it's in configuration mode.
-
Enter its settings.
Name: name of the Bridge, which commonly identifies its install location.
Network Type: select the type of network the Bridge will connect to.
Select Network: select a network (displays the network profiles available in OneVue).
New Clock Time Zone: select your local time zone. When set to Default, set to your OneVue account time zone.
Select Next to continue.
-
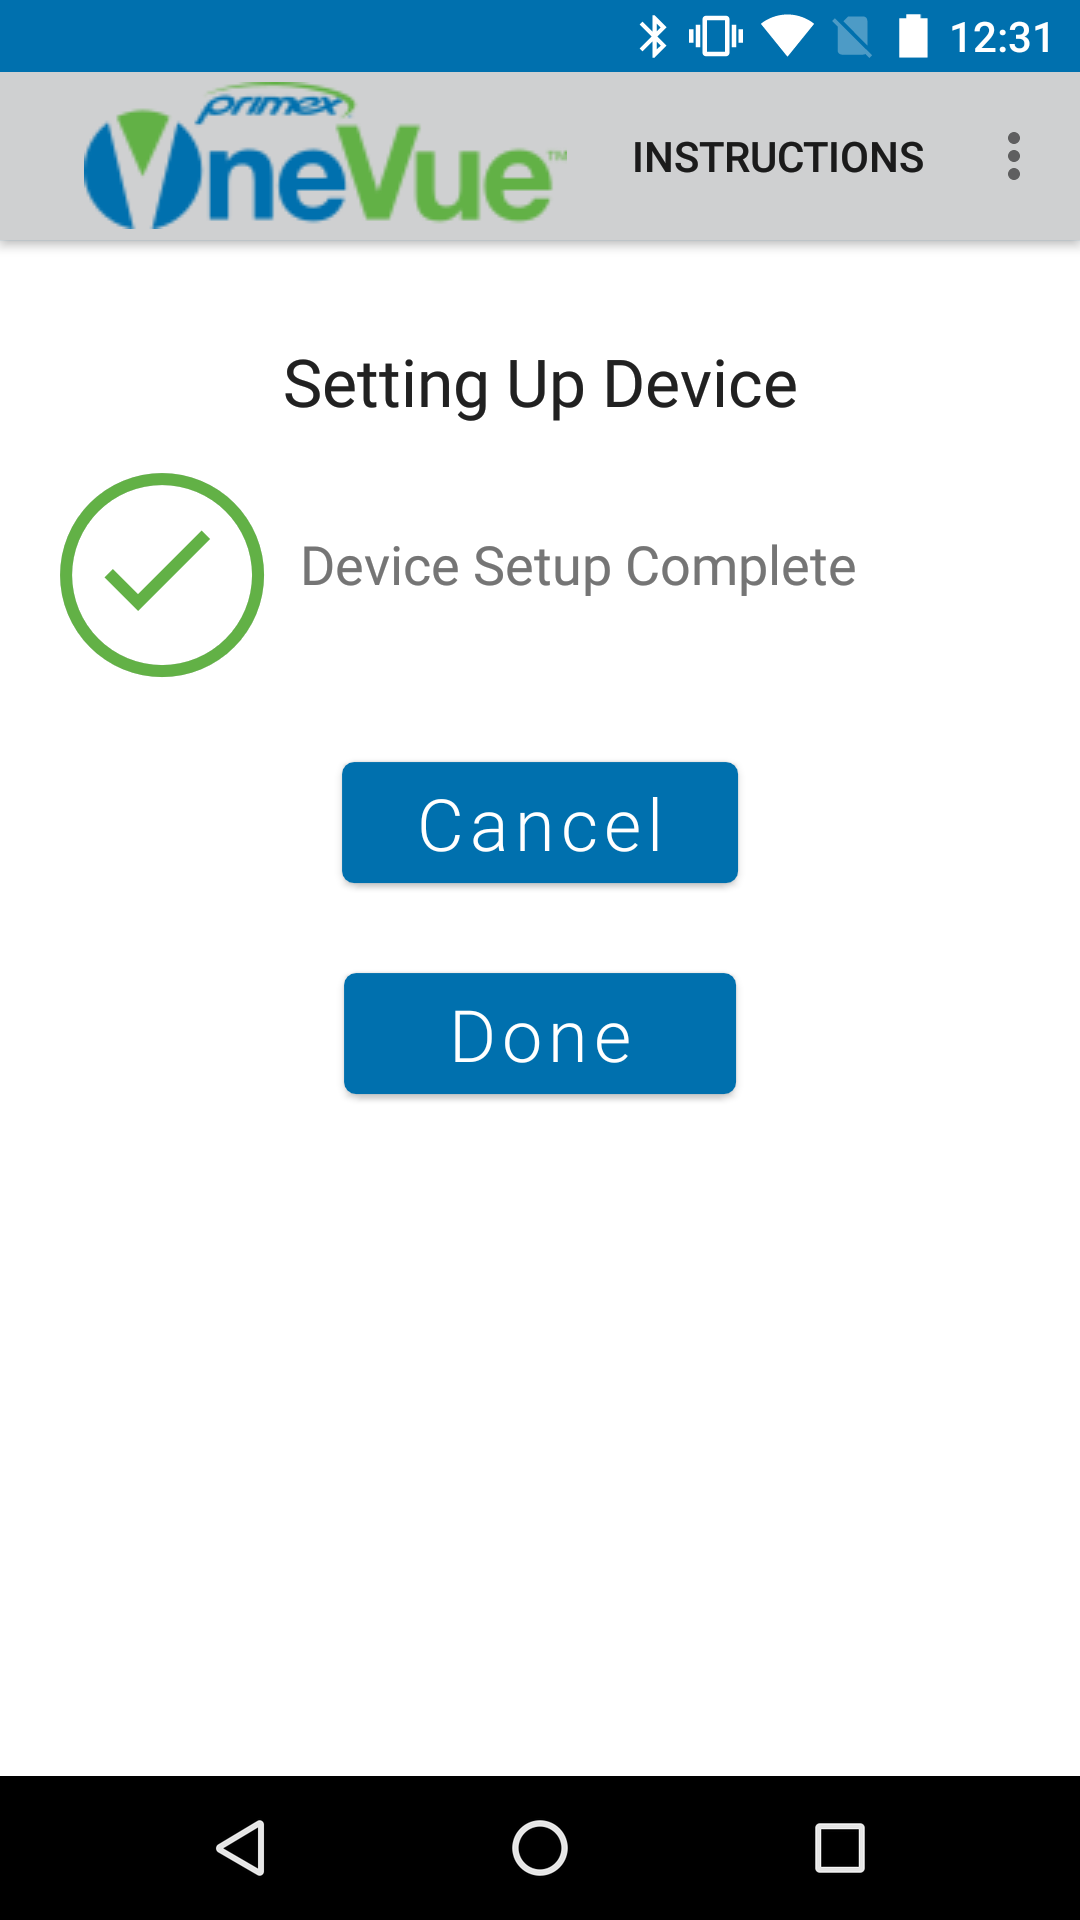
The app configures Bridge and displays its configuration status.
Caution
Do not remove the connection between the Bridge and your Android device until prompted.
-
When the Disconnect Device message appears > remove the USB connection between the Bridge and your Android device > and re-apply AC power to the Bridge.
Once disconnected, the app verifies the Bridge successfully checked-in to OneVue. If after 15 minutes it does not check-in, the app displays a status message.
If applicable, it may also take time to download the latest firmware (Bridge LCD displays UP).
You can now configure additional devices or close the app when you’re done.